Hey guys, how are you?
Finally, we have arrived in the final chapter of the series Fragmented and Aggregated tables in OBIEE and today we are talking about how to Setting the OBIEE Repository.
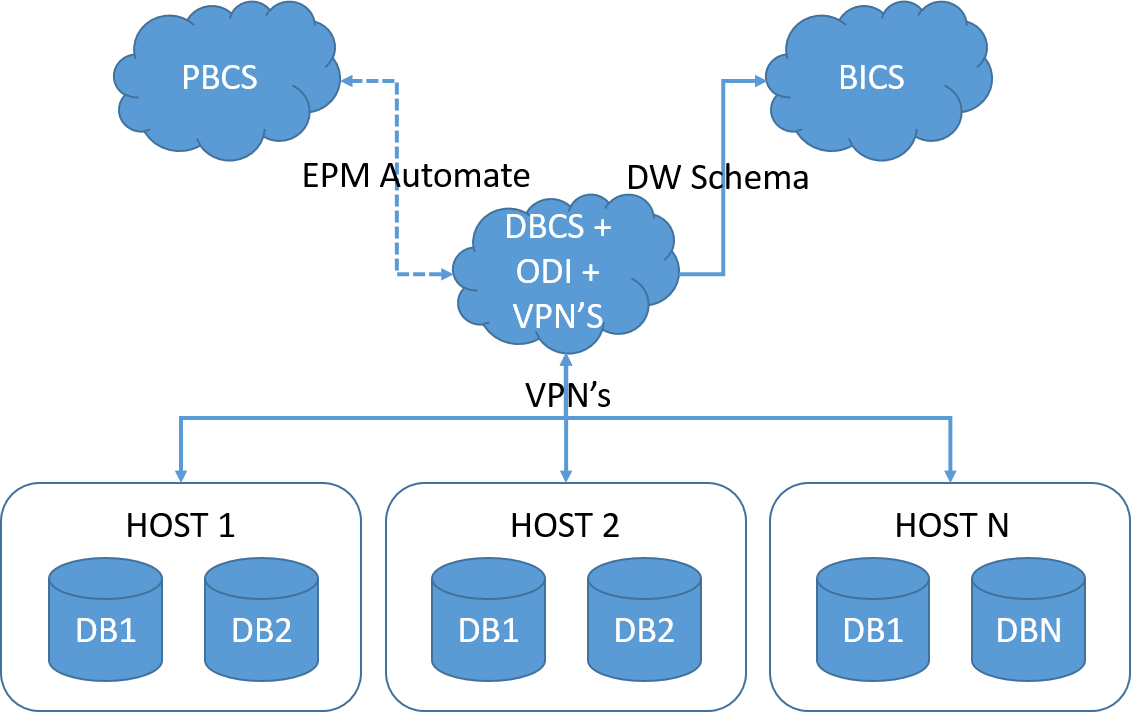
Just to make easier for you to navigate in this series, here’s the parts of it:
Creating the tables: I’ll explain the advantages and how you can create the fragmented tables and also how to further improve performance using partitioning and sub partitioning.
Managing the partitions of the Fragmented/Aggregated tables: Here you’ll see how to manage all partitions using ODI.
Populating the Fragmented tables using ODI: Here you’ll find how to create generic components to load all fragmented tables we need to.
Populating the Aggregated tables using ODI: Here you’ll find how to create generic components to load all Aggregated tables we need to.
Setting the OBIEE Repository: Finally, we’ll going to setting up the OBIEE repository to make use of all tables.
This post does not intend to be a step by step how to create an OBIEE repository for beginner or anything like that. My intend is to show the main points that we need to do to make our infrastructure to work in OBIEE. Also, I’m working in OBIEE 12c but this will work in the same way in OBIEE 11 too.
Let’s start then from the beginning. After we import all the tables to our repository the first thing, we need to do is to create the joins between the Dimensions and the Fact tables.
Right now, we have an important point to discuss about constraints. We can have the tables create with Primary Keys and Foreign Keys if you want, as well as not null and any other constraints you wish. The thing is, these things normally impact negatively in the data load times and since we are using ODI, we can have ODI to handle this kind of thing during the data load.
Instead of have a PK or an FK we can have a Flow control in ODI checking the metadata before load it. I always prefer this approach for the simple fact that ODI will generate an E$ table with all fallouts for me automatically, and this is very helpful for debugging.
In my case, I left the table without any constraints or Keys, then the first thing I need to do is to join all our star schema together. Since we have 18 table, all table needs to be joined to all Dimensions in the same way except the Period dimensions.
The Period Dimensions will tell OBIEE what is the set of tables he needs to query. If a user does an analysis in a quarter level, with our design, OBIEE must query only the Quarterly aggregated tables. That’s why we have 3 period dimensions, one for each level of aggregation.
For the DIM_PERIOD (the detailed dimension) we’ll going to join it with all detail Fact tables. As you can see, we joined with 3 “D” tables (BS, Income, PL2) and with the other 3 “E” table (same as before).
For the DIM_PERIOD_MONTH we’ll going to join it with all Monthly Fact tables. As you can see, we joined with 3 “D” tables (in the “M” level) and with the other 3 “E” table (also in the “M” level).
And for the DIM_PERIOD_QUARTER we’ll going to join it with all Monthly Fact tables. As you can see, we joined with 3 “D” tables (in the “Q” level) and with the other 3 “E” table (also in the “Q” level).
This is the first step to make OBIEE work with Aggregated tables. The second and last step we need to do is in the Business layer.
After we finish to join everything (if you have all FK’s in place, you’ll not need to do the joins, OBIEE will load then for you) we can start to do our final settings in the Business layer. In this layer is where we’ll going to tell OBIEE how to behave in front of the aggregate tables and the fragmented tables as well.
First, let’s address the Period Dimension. We’ll drag and drop the more detailed dimension first (DIM_PERIOD) and then we’ll going to drag and drop the other 2 period dimensions on top of the first one. This will create 3 sources in that logical dimension.
If you click in each source, you’ll see that OBIEE will automatically map the columns (By Column Name, then all columns must have the same name [case sensitive]).
As you can see, OBIEE maps the columns available in each dimension, making the Fiscal Quarter column for example, have 3 different sources, one for the DIM_PERIOD_QUARTER, another for the DIM_PERIOD_MONTH and one last one for the DIM_PERIOD.
The next thing we need to do is create a dimension for the DIM_PERIOD logical table. This is the last step needed for OBIEE decide which table it’ll query depending of the analysis created. As I said before, if the user does an analysis at quarter level, OBIEE will know by the DIM_PERIOD dimension and the Table sources that the smaller table to query is the DIM_PERIOD_QUARTER, because it’ll be in the beginning of the Drill path.
OBIEE knows for the design of the drill that the Years level has less members than the Quarter level and so on. That’s how OBIEE defines the aggregate table he’ll query.
The last thing we need to do is in the fact table, and it’ll be done at same time we and in the same place we set the fragmentation content. For the Fact tables we’ll do the same thing as the Period. We’ll drag any Fact table first and then we’ll going to drag all the other 17 tables on top of it like this:
As you can see, we have all sources under the same logical table and in the same way of the DIM_PERIOD, OBIEE will map all columns to the right source. In my case you can see that the Details Sources has more columns than the Aggregated Source (as expected).
At this point is important to point out that OBIEE will always going to try to get the most aggregated table possible but, if an user does an analysis at quarter level but ask for a column that only exists in the Detail table, OBIEE will be obliged to query the detail level and ask the database to aggregate the data for us (making the query slower).
Now, we have only one more thing to do for our architecture to work. We need to define which fragmented table OBIEE will access depending of the Source System and the Account hierarchy name. To do that, we’ll have to add a very simple parameter, that can be very complex if we don’t design well, to the Sources in the fact table.
Inside each Source we have a tab called “Content” and in that table we can specify some very important things:
First, we can/need to specify the Logical level that will be used for each dimension in relation to the fact table. What I mean for that is, for example, for the detail table, every dimension will be using the Detail level of the Dimensions (leaf level) as we can see in the image above. For the Monthly level Fact table, instead of the leaf level, we’ll be using the monthly level of the Period Dimension. That’s the last piece of configuration for the aggregated tables. With this setting OBIEE will know that for that Level of Dimension, he should be using the fact that have the logical level set as Month.
The second important thing we need to set in this tab is the fragmentation filter, and by that we have a field called Fragmentation Content. In this section we’ll going to use a Dimension or more to filter the content. What OBIEE does in this case is, depending of what is selected in the analysis, it’ll select one or more table to query.
For example, in our case we want to, when the Account HIER_NAME is equal to “BS” we want OBIEE to use only the BS tables, if is “INCOME” the use the INCOME tables and lastly if is “PL2” he needs to use the PL2 tables.
It’s nice to know that you don’t need to have the column you want to use in the fact tables, for example, the HIER_NAME column is the highest level of the Account Hierarchy and we don’t have any information regarding this in the fact table. OBIEE just read the Filter and select the right table.
Another very important point about the fragmentation content is that, in cases that you have more than one option, you need to do all possible combinations for that to work properly. For example, if we are doing fragmentation with 2 dimensions, like we are doing, and the dimension A has the values A, B and C and dimension B has values 1, 2 and 3, if the user can select more than 1 value you need to do something like this:
(Dimension A = A and Dimension B = 1) or (Dimension A = A and Dimension B = 2) Or…..
You need to have all possible combinations because in this setting if you say something like Dimension A in (A, B, C) this will only be valid if the user select all 3 values in the dashboard. If he selects just A and B, this filter will not be used.
Then in our case, for simplicity, I had to create an UDA for the Source System otherwise I would have to create all possible combinations between Hier_Name and Source System. Then In my DIM_SOURCE_SYSTEM I have something Like this:
As you can see, the UDA split my Source Systems in the same way I split the data in the table. In the E tables I have just EMC data and in the D tables I have DELL, DTC and STAT data. This allows me to do a simple filter in the Fragmentation Content filter making our lives way easier.
The third important thing is that, in our case, since we can have in an analysis 2 or more sources at same time, for example, the user can select the Source System Dell and EMC, we need to flag the option “This source should be combined with others at this same level”.
This will make OBIEE ALWAYS create an UNION ALL between at least one D table and one E table, even if the user select just EMC for example, we’ll have the UNION ALL between the same level (Month for example) with the filter Source System = ‘EMC’, making the result set return just EMC data.
If we don’t flag this option, OBIEE will never have 2 fragmented table at same time, and that’s not what we want here.
Then basically we have 3 configurations to do in our 18 sources. Looks a lot but is very simple in the end. I create a color code to try make it easier for us to see all the configurations in our source. Yellow is the configuration regarding the Source System, Green is related with the Account Hier_Name and Red is regarding the level of the aggregated data.
As you can see, we have our 3 configurations combined in our 18 sources.
- Period Aggregation:
- For detail Fact table we assign the Leaf level of periods;
- For Month Fact table we assign the Month level of periods;
- For Quarter Fact table we assign the Quarter level of periods;
- Account Fragmentation:
- For BS Fact table we filter HIER_NAME = ‘BS’;
- For INCOME Fact table we filter HIER_NAME = ‘INCOME’;
- For PL2 Fact table we filter HIER_NAME = ‘PL2’;
- For Source System Fragmentation:
- For EMC Fact tables (E tables) we filter UDA = ‘E’;
- For Dell, DTC and STAT Fact tables (D tables) we filter UDA = ‘D’;
And that’s all we need to do to config OBIEE for this architecture. It’s looks overwhelming but in fact is very simple and very fast to do it, and the performance gains are absurd. With this approach I can query 15 quarter of data in the quarter level in 5 seconds. Billions of data in 5 seconds, it’s a lot.
One thing that I would like to mentioning is that normally in the Business Layer is where I rename all the columns for a more business friendly. In this case I decide to do a little test and I left all the names in the same way it’s in the Physical Layer and decide to create Aliases in the Presentation layer. I did that for 2 very simple reasons, one is that it’s easier to just drag and drop staff from the Physical Layer to the Business Layer if everything has the same name. If things don’t match, he duplicates columns, you need to drag and drop column over column, one by one and it’s a lot of work. Second because I wanted to test if this approach is better than my old one or not.
I don’t have any opinion about that yet and in fact, I could had renaming everything and if I need to expand to 36 table for example, I could rename back the columns, do all the mappings and rename back again, then not sure what’s the best approach on that.
It was way more work to rename stuff in the Presentation Layer because the Rename Wizard doesn’t create aliases, then I had to manually rename column by column then I still not sure about this approach.
And this is the end of our Fragmented and Aggregated tables in OBIEE using ODI. I hope this is helpful and see you in my next post.